Tennis Volley Analysis Metrics Explained
Dominate at the net with professional volley technique. Learn the biomechanical metrics that separate clean, crisp volleys from weak, inconsistent net play.
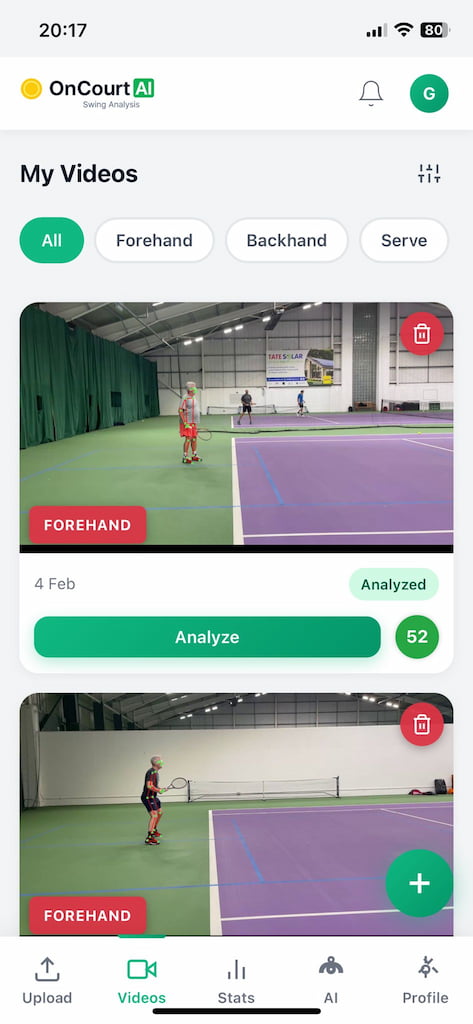
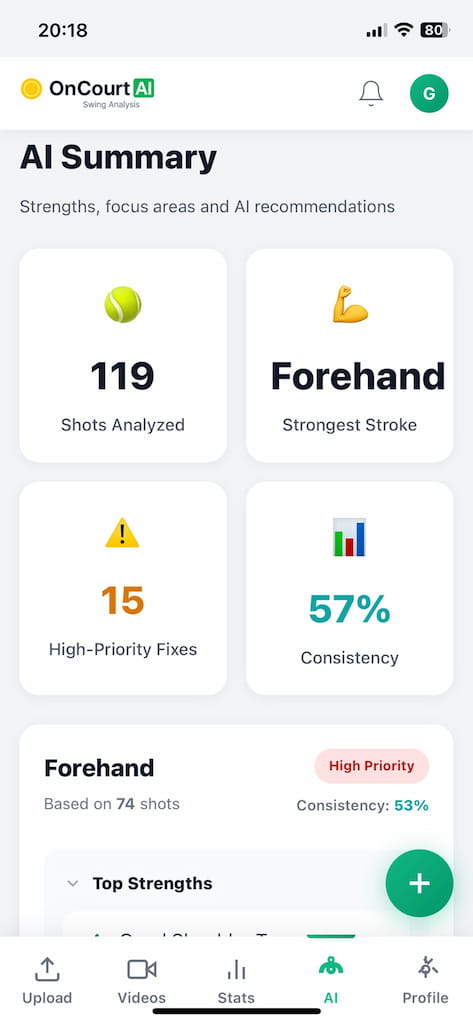
Upload video, analyse every shot type, and track your improvement over time. Free for every player.
Discover OnCourtAI →

The ready position determines how quickly you can react at the net. Volleys happen in milliseconds - your ready position must be optimal for instantaneous responses to fast balls.
Hand Height Measurement:
Hand Height: Vertical distance from your shoulder to your wrist in ready position. High hands enable quicker reactions to balls at chest and head height - the most common volley zones.
Optimal height
Hands above shoulders
Elbow angle
Comfortable bend
Hand separation
Both sides covered
Hand Height: 5-15 cm (2-6") above shoulders
Forward Position: Hands at body line or slightly forward
Elbow Angle: 80-110° comfortable bend
Hands Separation: 30-60 cm (12-24") between hands
Hand Forward Position:
How far forward your hands are relative to your body center. Hands too far back cause late reactions and missed volleys. We measure horizontal distance from wrist to body centerline.
Elbow Bend Analysis:
The angle formed by your shoulder, elbow, and wrist in ready position. Too straight (>120°) lacks readiness, too bent (<70°) restricts movement. Sweet spot is 80-110° - relaxed but ready.
Hands Separation Distance:
Distance between left and right wrists. Optimal separation (30-60cm) allows quick coverage of both forehand and backhand sides without excessive adjustment.
- Reaction Time: High hands reduce distance to contact = faster volleys
- Court Coverage: Proper separation covers both sides equally
- Balance: Forward position with bent elbows maintains athletic stance
- Quick Blocks: Minimal adjustment needed for fast balls
- Professional Standard: ATP/WTA players maintain hands 8-12 cm above shoulders
Common Volley Ready Position Mistake: Hands too low (at waist level) forces upward motion before contact, adding 100-200ms to reaction time. At net speeds (80+ mph), this delay causes missed volleys.
Contact point on volleys must be farther forward than groundstrokes. Our AI measures exactly where you're meeting the ball and whether you're achieving optimal net play positioning.
Forward Contact Distance:
How far in front of your shoulder you make contact, measured in centimeters. Volleys require MORE forward contact than groundstrokes because you have less time and need to control direction precisely.
Excellent: 15-30 cm (6-12") in front of shoulder
Good: 10-15 cm (4-6") in front
Adequate: 5-10 cm in front
Late: <5 cm or at/behind shoulder line
Contact Height Analysis:
Where you're making contact vertically. We measure height relative to shoulder and estimate absolute height above court to determine if you're above net height (91.4 cm).
- High Volleys: Above shoulder (offensive position, hit down)
- Mid Volleys: Waist to shoulder (control zone)
- Low Volleys: Below waist (defensive, lift required)
Arm Extension at Contact:
The angle of your arm at contact. Unlike groundstrokes, volleys benefit from SLIGHTLY bent arm (140-170°) rather than full extension, providing better feel and control.
Forward distance
Out in front
Arm angle
Slightly bent
Above net
Offensive position
Head Alignment Check:
Distance from your head (nose) to contact point. Professional volleyers keep their head aligned and still, watching ball onto strings even on fast reflexive volleys.
Excellent: <60 cm head-to-contact distance (watching closely)
Good: 60-80 cm (adequate tracking)
Poor: >80 cm (head pulling away, blind volleys)
- Direction Control: Forward contact enables crosscourt or down-line placement
- Power Blocking: Body behind ball creates depth on volleys
- Angle Creation: Forward position opens up sharp angles
- Defensive Ability: Can handle hard-hit balls with stable blocking
- Net Clearance: Above-net contact allows hitting down for winners
Pro Volley Secret: Federer and Sampras made contact 20-30cm in front with rock-solid head position. This created the crisp "pop" sound and penetrating depth on their volleys.
Volleys are a "punch" motion, not a swing. The cardinal rule of volleys: minimal backswing, firm contact, short follow-through. Our AI measures these precisely.
Backswing Measurement:
The horizontal and vertical distance your racket moves backward from ready position to contact. Excessive backswing is the #1 volley fault - our system catches this instantly.
Excellent: <10 cm (4") backswing - pure punch
Good: 10-15 cm (4-6") minimal preparation
Excessive: 15-20 cm (starting to swing)
Fatal Flaw: >20 cm (8") - this is a swing, not a volley
Vertical Backswing Check:
We also measure vertical racket drop. Good volleys maintain racket height - dropping the racket requires lifting back up, adding time and reducing control.
Follow-Through Distance:
Total distance your hand travels from contact through finish. Follow-through should be SHORT (<25cm) but forward, not across body.
Max backswing
Minimal prep
Follow-through
Short and controlled
Finish direction
Into the court
Follow Forward Direction:
Whether your follow-through is forward (toward net) or sideways (across body). Forward finish = depth and control. Sideways finish = angle but less penetration.
- Reaction Time: No backswing = instant volley (critical at 100+ mph)
- Control: Blocking motion maintains racket face angle
- Depth: Short follow-through forward creates penetrating volleys
- Consistency: Simple motion = fewer variables = more reliable
- Touch: Punch develops feel that big swings destroy
The "Touch" Paradox: Beginners think soft hands create touch. Wrong. Firm hands with minimal motion create touch. Our analysis shows whether you're "punching" or "swinging" - one works, one doesn't.
Elite net play requires perfect timing of the split step. Our AI analyzes your stance width, forward step, and weight transfer to measure footwork effectiveness.
Split Step Detection:
The split step is a small hop that times with opponent's contact, landing you in ready position with wide base. We measure initial stance width to confirm you've executed this critical move.
Excellent: >35 cm (14") between ankles - perfect split
Good: 30-35 cm (12-14") - functional base
Narrow: 25-30 cm (10-12") - minimal split
Missing: <25 cm (<10") - no split step executed
Forward Step Measurement:
How far you step forward into the volley, measured in centimeters. Good volleys involve a step, not just arms. This transfers body weight into the ball for depth.
Excellent: >8 cm (3") forward step
Good: 5-8 cm (2-3") forward
Minimal: 2-5 cm (slight step)
Stationary: <2 cm (arm-only volley)
Weight Transfer Analysis:
Forward movement of your hips from ready to finish. This quantifies how much body weight you're putting into the volley beyond just arm strength.
Split step width
Wide base ready
Forward step
Into the ball
Hip movement
Weight transfer
Final Stance Analysis:
Your stance width at finish position. Should remain stable (>25cm) for quick recovery to ready position for next volley.
- Split Timing: Lands you in ready position when ball arrives
- Wide Base: Enables explosive lateral movement for reaching wide balls
- Forward Step: Transfers body weight for depth and power
- Balance: Proper footwork maintains stability through contact
- Recovery: Good finish position enables rapid ready position return
Split Step Timing: The split should occur as your opponent makes contact. Too early and you're stuck, too late and you're slow to react. Our analysis can't measure timing directly but shows whether you're achieving proper stance width.
Firm wrists are the secret to crisp, deep volleys. This advanced metric separates recreational from professional volleying technique.
Wrist Angle Variation:
We track your wrist angle through the contact zone, measuring how much it changes (flexes or extends). Elite volleyers maintain LOCKED wrists through contact - variation under 10°.
Excellent: <8° variation - locked solid
Good: 8-12° variation - firm enough
Adequate: 12-15° variation - some firmness
Wristy: >15° variation - floppy wrist kills depth
Wrist Movement Distance:
How far your wrist position moves through contact zone, measured in centimeters. Stable volleys show minimal movement (<5cm) - the wrist acts as a rigid extension of the forearm.
Contact Zone Stability Window:
We analyze 4-6 frames before and after contact. Professional volleyers maintain constant wrist angle through this entire window, creating the distinctive "pop" sound and penetrating ball flight.
Angle variation
Locked firm
Wrist movement
Minimal motion
Stability window
Through contact
- Energy Transfer: Firm wrist transfers body power to ball efficiently
- Depth Control: Locked wrist creates consistent depth
- Direction Accuracy: Stable angle means repeatable placement
- Power Without Swing: Firmness allows blocking hard balls deep
- Touch Volleys: Paradoxically, firm wrist creates best touch
The Wrist Firmness Principle: Beginners think soft, loose wrists create touch. Wrong. Firm wrists with minimal backswing create control and depth. Loose wrists produce floating pop-ups that opponents crush.
Net play requires perfect balance for quick reactions. Our AI measures your center of mass position, stance width, and hip level to quantify stability.
Balance Offset Measurement:
The horizontal distance between your center of mass (nose position) and your base of support (midpoint between ankles). Good balance minimizes this offset.
Excellent: <15 cm (6") offset - centered perfectly
Good: 15-20 cm (6-8") offset - stable
Adequate: 20-25 cm (8-10") offset - manageable
Poor: >25 cm (10"+) offset - off-balance, falling
Stance Width Analysis:
Distance between your feet. Wider stance (>25cm) provides more stable platform for handling pace and producing consistent volleys.
Hip Level Check:
Whether your hips are level or tilted. We measure the vertical difference between left and right hip. Level hips (<5cm difference) indicate proper athletic balance.
- Stable Platform: Balanced base produces consistent contact
- Quick Recovery: Good balance enables rapid movement to next ball
- Power Handling: Stability allows blocking hard-hit balls
- Touch Control: Balanced position enhances feel for drop volleys
- Injury Prevention: Stable mechanics reduce ankle and knee stress
Balance Under Pressure: Professional volleyers maintain excellent balance (<15cm offset) even on difficult wide volleys. Recreational players often fall away from contact, reducing control and depth.
Speed is everything at the net. Our AI measures time from video start to contact, categorizing your reaction time against professional benchmarks.
Time to Contact Measurement:
Total time in seconds and milliseconds from beginning of video to contact frame. Volleys require lightning-fast reactions - typically under 800ms (0.8 seconds) for balls hit from baseline.
Excellent: <0.6 seconds (600ms) - elite reflexes
Good: 0.6-0.8 seconds - strong net play
Adequate: 0.8-1.0 seconds - functional
Slow: >1.0 seconds - struggles with pace
Preparation Time:
Time from ready position to contact. This should be extremely short on volleys - professional players prepare and strike in under 300ms.
Frames to Contact:
Number of video frames from start to contact. At typical frame rates (30 fps), excellent volleys occur in 15-18 frames from ready position.
- Time Pressure: Net position reduces reaction time by 50% vs baseline
- Ball Speed: 100+ mph passing shots give <500ms to react
- Success Rate: Faster reactions = more volleys made = more points won
- Confidence: Quick reflexes enable aggressive net positioning
- Match Tactics: Fast hands enable serve-and-volley, chip-and-charge
Improving Reaction Time: While genetic factors play a role, proper ready position, anticipation, and split-step timing can reduce reaction time by 100-200ms. Our analysis shows whether technique is limiting your speed.
Your volley receives detailed scoring across all components. The system evaluates both forehand and backhand volleys with identical rigor.
Scored Components:
Ready Position
Hand height, separation, forward position
Contact Point
Forward distance, height, extension
Punch Technique
Backswing, follow-through, direction
Footwork
Split step, forward step, weight transfer
Wrist Stability
Angle variation, movement distance
Balance
Center offset, stance width, hip level
Reaction Time
Speed category, preparation time
Key Volley Principles (from AI analysis):
- Compact Preparation: Minimal backswing (<15cm)
- Firm Wrist: Locked through contact (<10° variation)
- Forward Contact: 10-30cm in front of body
- Short Follow-through: Punch motion (<25cm)
- Quick Feet: Split step and step in (>5cm)
- Still Head: Watch ball onto strings
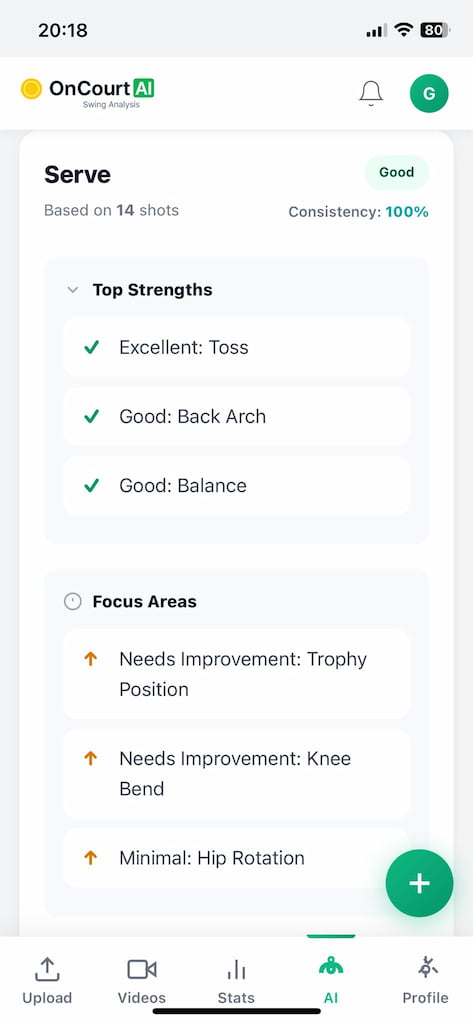
AI-Generated Coaching Recommendations:
Based on your component scores, receive specific improvements:
- "Keep hands up (5-15cm above shoulders) and ready"
- "Make contact 10-30cm in front with firm wrist"
- "Use minimal backswing (<15cm) and short follow-through"
- "Execute split step for wide base (>30cm stance)"
- "Lock wrist through contact (<10° variation)"
- "Transfer weight forward (>3cm hip movement)"
- Prioritize Weaknesses: Focus on lowest-scoring component
- Track Progress: Re-analyze weekly to measure improvement
- Video Study: Review frame-by-frame analysis
- Drill Focus: Use recommendations for practice design
- Match Application: Better volleys = more net points won
Analyze Your Tennis Volleys
Get instant feedback on your volley technique. Discover what's preventing crisp, penetrating volleys and dominate at the net.
Start Volley AnalysisVolley Analysis FAQs
What's the most common volley technique mistake?
Excessive backswing is the #1 volley fault. Our analysis consistently shows recreational players taking 20-30cm backswings when professionals use <10cm. This adds time, reduces control, and eliminates depth. Focus on pure "punch" motion.
How can I improve my volley reaction time?
Three keys: (1) Proper ready position with high hands reduces distance to contact, (2) Split step timing lands you ready when ball arrives, (3) Anticipation based on opponent's contact. Our analysis shows which technical elements slow your reactions.
Why do my volleys lack depth?
Two common causes revealed by analysis: (1) Loose wrists (>15° variation) instead of firm blocking motion, (2) Late contact point (behind body) instead of out front. Fix these and depth improves dramatically.
Do professional players really use these volley metrics?
Yes. ATP/WTA coaches measure: ready position heights, contact points, backswing distances, wrist stability, and reaction times. These metrics separate Federer's crisp volleys from club-level pop-ups. Our AI gives you access to the same analysis.
